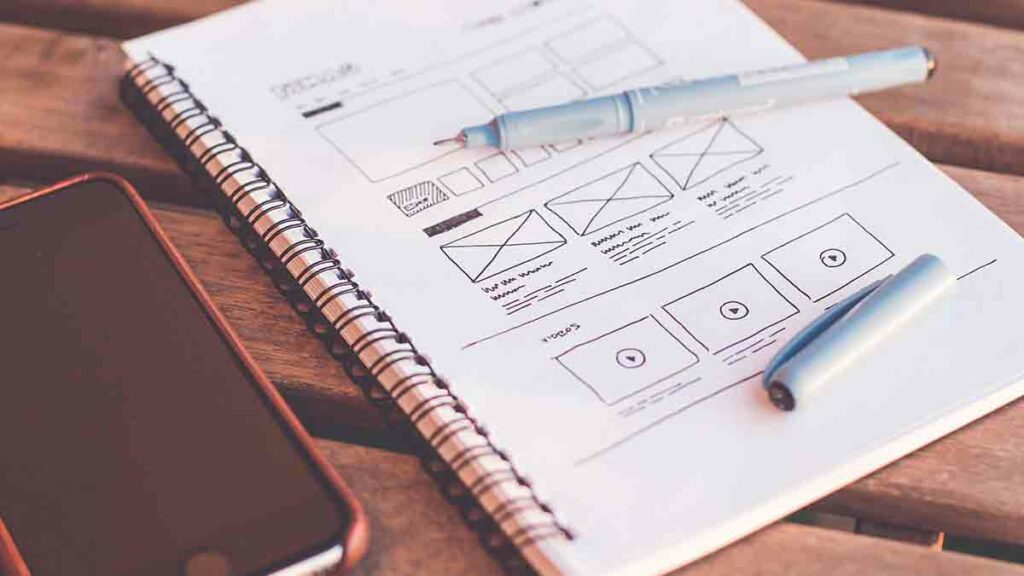
Would you like to discover 3 practical tips for prototyping? Prototyping is that final phase where we can see how ideas take shape.
Mastering the prototyping process is essential, as this way we can get a clearer visualization. Creating a visual representation of an idea is one of the best ways to make it more tangible and to be able to communicate it.
Prototyping allows iterative refinement and validation of concepts in a faster way. With a basic version of the product we can test its suitability, evaluate if the concept has potential and determine if it does the estimated job. Thanks to the feedback, we can develop the necessary adjustments and improvements to create a better final product.
The user information provided by a prototype is more in-depth. Early prototypes can be shared with potential users to get valuable feedback. This information helps identify bugs, usability improvements and feature nuances before moving forward with more advanced stages of development.
In addition, risk is minimized and efficiency is improved, as addressing problems in the early stages of development avoids time-consuming and costly solutions.

3 prototyping tips
Start with a storyboard with the key elements of the prototype
Put the idea on a whiteboard or board. If digital, use a shared virtual whiteboard. From here, start an alignment conversation with the team to make sure everyone agrees on the key items.
The risk in this step is getting caught in the weeds. You don’t need to sift through the copy or decide where each item should go. That part comes later.
Go for high fidelity, not perfection
This part of the process can be tricky, because we surely don’t know when we’ve reached sufficient status. In prototyping, the litmus test for measuring fidelity is whether in the current state we can get the learning we want.
To do this, we must first walk the team through a prioritization process to ensure they are aligned on what is important. We start by ranking the storyboard elements in order of importance, assigning a number to each. The team manager should help drive the conversation. Next, we should assign different roles to the participants so they can work through the screens.
Learn something by presenting the prototype to a user, stakeholder or customer
The prototype only needs to be real enough for users to understand what they are supposed to do, without additional explanation. It should not be so definitive that it resolves the small details, though.
The team should be aware here that what we are really interested in is whether the customer will understand the message.
Photo credit: PJ